
Easy Father’s Day DIY
As an Amazon Associate and member of other affiliate programs, I earn from qualifying purchases.
I have a super duper easy Father’s Day DIY project. I know Father’s Day is tomorrow. That’s why I’m talking about it. If you are like me, then you waited until today to get a gift for Father’s day.
But that is okay because this DIY is great for very young kids, and it will only take a few minutes and a few dollars to do it. It is not an original idea. Sharpie mugs are all over Pinterest. But they are super easy, fast and adorable!

Easy Father’s Day DIY shopping list:
1. White Mug – Not a fancy mug. Just a plain ol mug. Preferably unglazed, but I couldn’t find one.
2. Sharpies – Get your favorite colors or just use ones you already have.
3. Letter Stickers – What do you want to say? #1 Dad? Super Dad? This is up to you and your kids.
You may have all you need in your house right now. You don’t even need to write the list down. I told you this is super easy.
Decorate and Bake
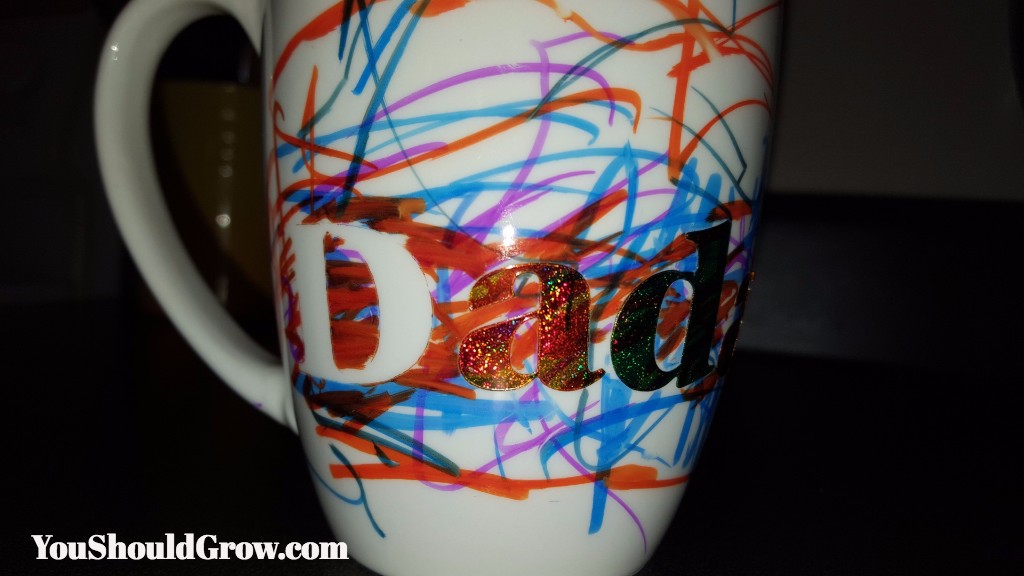
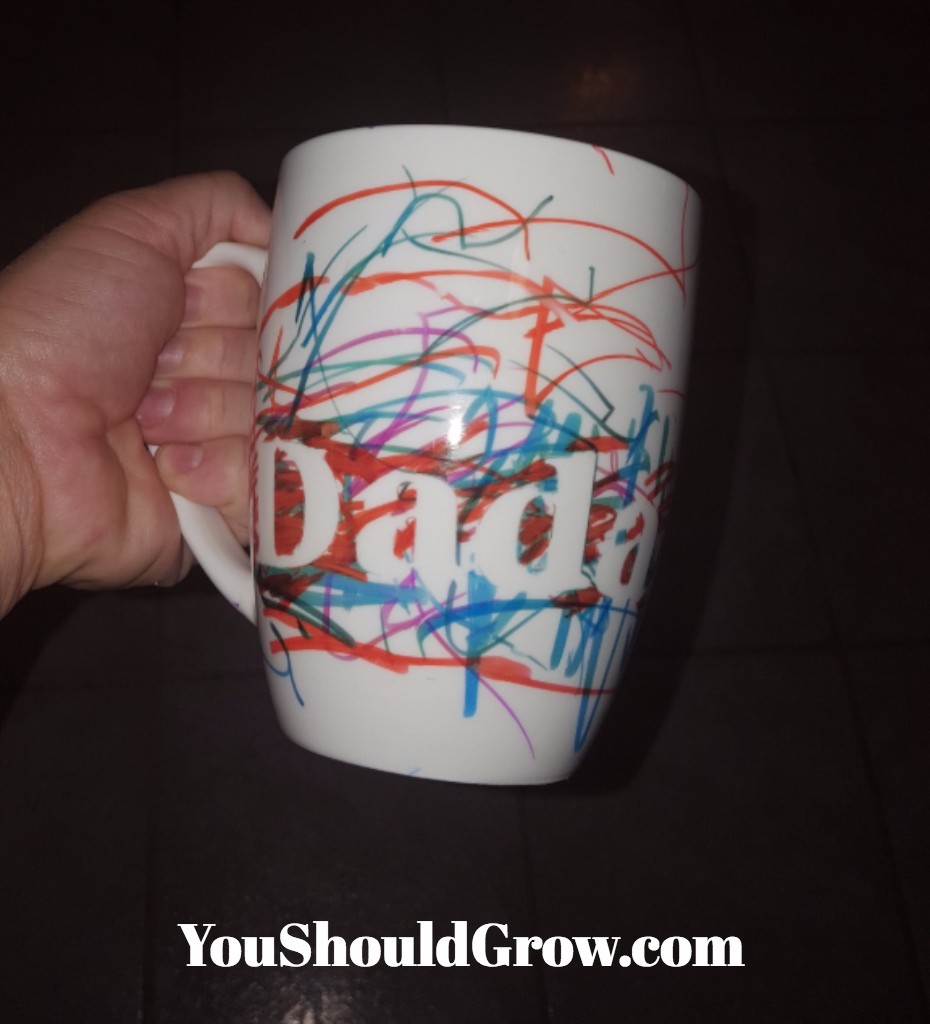
Step 1: Apply stickers to mug to spell out whatever it is you want to say. We went with Dada since that is the baby’s favorite word.
Step 2: Color with sharpies! Older kids should have fun being creative for this part. Allow them the freedom to write or draw whatever they want. Being only 18 months old, the baby scribbled most of the lines on the mug. Many others were drawn on her arm and the kitchen table. With her attention span, she was done with this project within two minutes. I had to fill in around the letters to make them stand out. But I left most of the scribbles just the way she drew them.
Step 3: Pull off the stickers.
Step 4: Turn upside down onto a baking sheet. Place in a cool oven. Then set the oven to bake at 300 degrees. Bake 30-40 minutes. The sharpie mug should be dishwasher proof, but I will probably hand wash just to preserve it longer.**
**update** The sharpie art does not survive the dishwasher! My son put the mug in the dishwasher one night, and it definitely ruined the artwork. We are going to have to try again with an unglazed mug and longer bake time because Dada was very sad that his special artwork disappeared.
Step 5: That’s it! Pat yourself on the back for doing a DIY for Father’s Day in time for Father’s Day.
If you are an extreme DIYer then this project will not impress you. I totally get that. If you are a busy mom who wanted to do something for Father’s Day but just ran out of time…then this project is for you. I can’t see a dad not loving an original masterpiece from his sweet babies.
Happy Father’s Day to all the great dads out there!